
5 Yearly Tasks That Add 10 Years to a Wood Fence’s Life
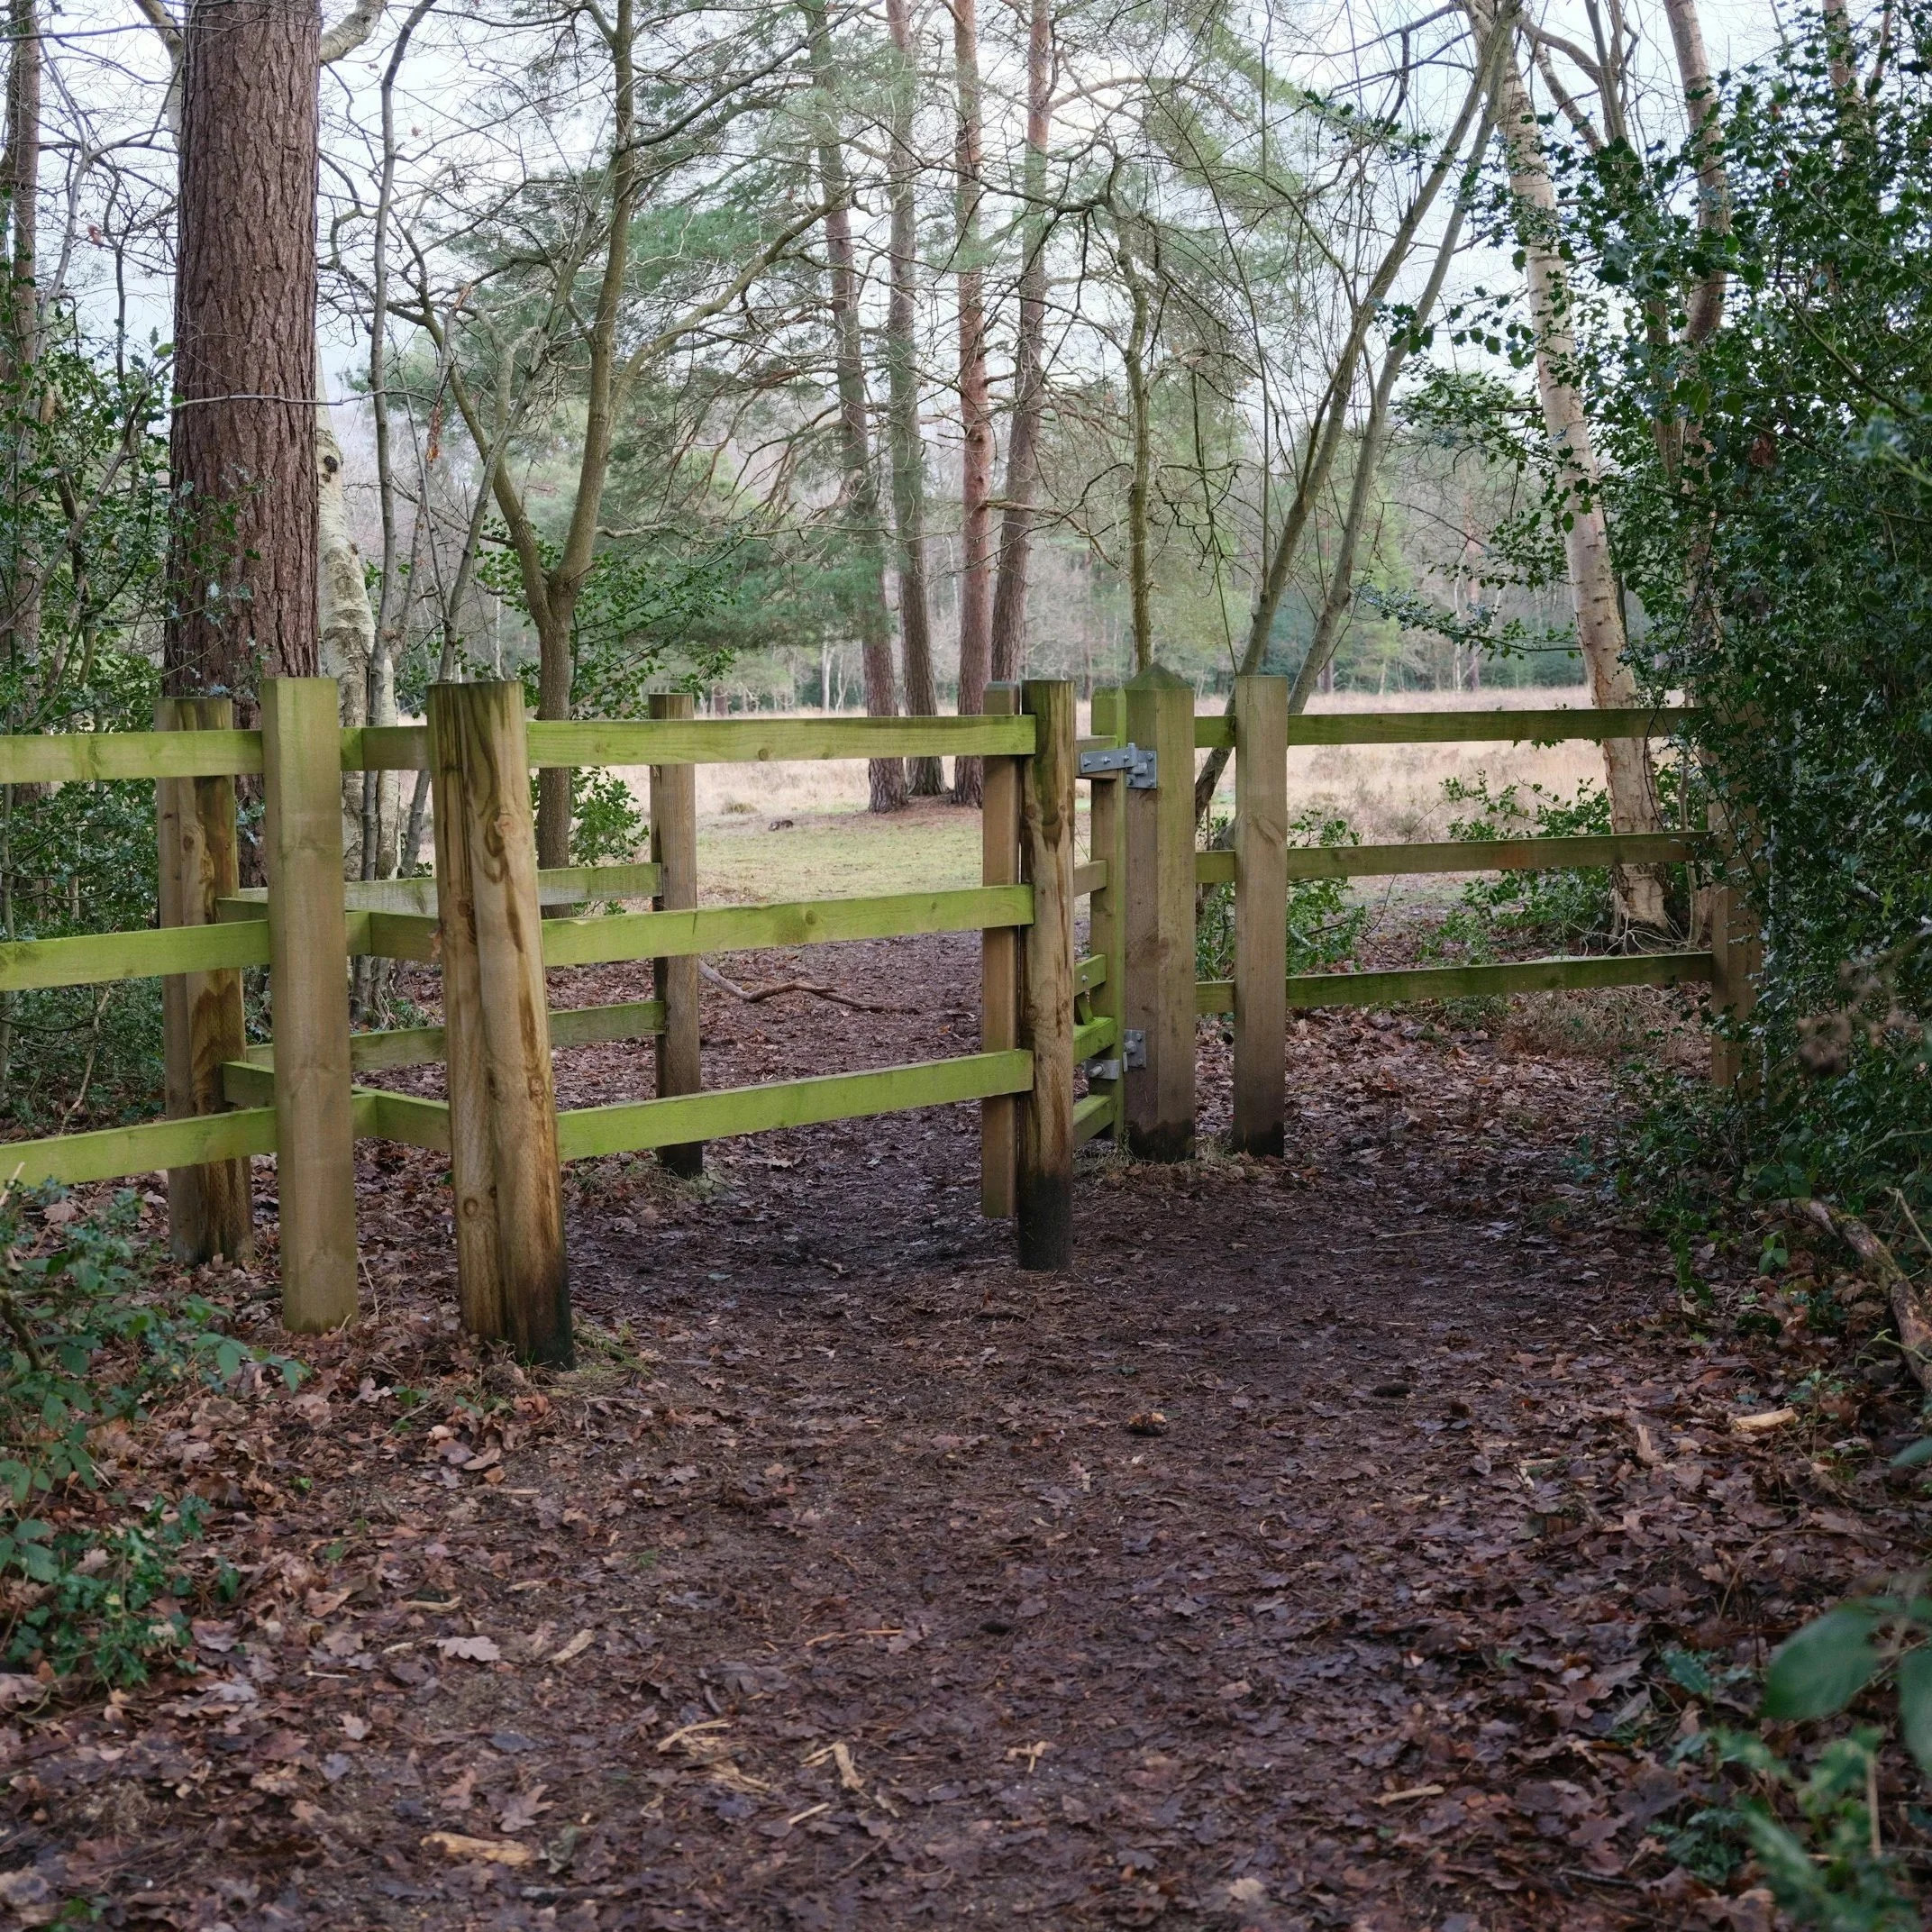
Wooden garden fence along outdoor pathway highlighting yearly maintenance tasks that help extend fence lifespan and prevent structural deterioration.
Most wood fences fail before they have to. The same pressure-treated pine fence that gets 12 years in one yard gets 22 in another, and the difference is rarely the fence. It is your maintenance schedule. Five specific tasks, done yearly, are the difference between replacing a fence in year 12 and getting another decade out of it. None of these tasks is glamorous. None requires a contractor. All take a Saturday or two per year of your time. Here is the list, in the order they actually need to happen.
The Math: Why Yearly Tasks Matter
A wood fence in Fayetteville-area conditions averages 10 to 15 years for pressure-treated pine, and 15 to 20 years for cedar without maintenance. The same fence with proper yearly care can reach 20 to 25 years for pine and 25 to 30 years for cedar. The tasks are not glamorous, but the difference between “fence lasts 12 years” and “fence lasts 22 years” is the cost of one full replacement avoided.
A 150-foot wood fence costs roughly $3,000 to $7,000 to install, depending on material and finish. Putting that off by a decade saves you real money. Even if you are not the homeowner who will benefit from the year-22 fence, the maintenance reduces visible aging and keeps your home looking cared-for in the meantime.
Five tasks. Two Saturdays per year. The math works out for almost every wood-fence owner.
Task 1: Annual Inspection (March or April)
Walk your fence line in early spring. Look for: leaning posts, cracked or split rails, loose pickets, rust on hardware, visible rot at ground level, and missing or loose fasteners. Mark damaged sections with chalk or tape so you can come back to them.
Time investment: 30 to 60 minutes. Cost: free.
What spring inspection catches that fall inspection misses: winter freeze-thaw damage and rot that softened over the wet season. Catching damage in March means you fix it before summer humidity accelerates the failure. By July, a soft post that you caught in March has been replaced or stabilized. The same post left until July will be visibly leaning by September on your fence line.
Bring a screwdriver or stiff awl on your inspection walk. Press the tip into any wood on your fence that looks suspect at ground level. Healthy wood resists your screwdriver; rotted wood gives. The screwdriver test catches rot before the fence shows it from a distance.
Task 2: Pressure Wash (April or May)
Clean your fence before sealing or staining. A pressure washer set to 1,200 to 1,500 PSI with a wide-fan tip handles the work without damaging your wood. Higher PSI gouges the surface and exposes more wood to the weather. Lower PSI does not remove embedded dirt and mildew.
Work in 4 to 6-foot sections. Hold the tip 12 inches from the surface. Move steadily; do not linger in one spot of your fence. Remove dirt, mildew, algae, and any loose old finish.
For mildew specifically, a 1:1 mix of white vinegar and water sprayed on your fence and left for 10 to 15 minutes before pressure washing helps. Mildew lives in the wood pores; vinegar kills it on contact. Bleach is the common alternative, but bleach damages wood fibers over time. Vinegar is gentler and just as effective for surface mildew.
Time investment: half a day for an average backyard fence. Cost: $30 to $50 for vinegar and pressure washer rental, free if a pressure washer is owned.
Why this task matters more than most homeowners realize: stain and sealer do not bond to dirty wood. The pressure-wash step is the single most under-done task that explains why DIY sealing jobs fail at year 3 instead of year 7. Skip the wash, and the sealing work is wasted.
Task 3: Apply Sealer or Stain (May, After the Wash Dries)
Wait 48 to 72 hours after pressure washing for your wood to fully dry. Then apply a quality wood sealer (clear or tinted) or oil-based stain. Wet wood will not absorb the sealer, and your sealer will fail within a year.
Cedar takes a clear sealer well; if you have cedar, the natural reddish color is the appeal, and a tinted stain often hides what makes cedar attractive in the first place. Pressure-treated pine usually benefits from a tinted stain (semi-transparent) to even out the color of your fence and add UV protection on top of the existing chemical treatment.
Application: brush, roller, or sprayer. Sprayer is fastest but uses more product because of overspray and evaporation. Brush gives the deepest penetration into your wood’s pores. Roller is a middle ground. Two thin coats outperform one thick coat — your second coat fills gaps the first one missed, and the build is less likely to crack as the wood expands and contracts.
Time investment: full day for an average backyard fence. Cost: $50 to $150 in stain or sealer for an average fence, depending on quality and brand.
Frequency: every 2 to 3 years if you have pressure-treated pine, every 3 to 4 years if you have cedar. Your yearly task is checking the finish and patching weathered areas. The every-few-years task is the full reapply.
Task 4: Tighten Hardware and Replace Damaged Boards (Summer)
After your spring inspection identifies damaged sections, summer is the right time to fix them. Heat and dryness make your wood easier to work with. Humidity-swollen wood from spring is harder to swap because boards do not slide cleanly between rails when the wood has expanded.
Your tasks: tighten loose nails or screws on rails and pickets, replace any pickets cracked beyond repair, swap rusted hardware (gate hinges and latches especially), and re-nail or re-screw any pickets pulling away from rails.
Common gate hardware fails in NC humidity faster than the fence boards themselves. Replace your standard galvanized hinges with stainless steel for waterfront properties or coastal-influenced humidity. Standard galvanized works fine in dry climates; in the Cape Fear region, stainless steel costs a little more upfront and lasts at least twice as long.
Time investment: 2 to 4 hours plus material runs. Cost: $20 to $80 in hardware and replacement boards for a typical repair round.
Skip this task, and small problems compound. A loose picket pulls more loose. A leaning rail pulls the next rail. A rusted hinge eventually breaks the gate. Catching each issue at the small stage takes you 5 minutes. Catching it at the broken stage takes a Saturday.
Task 5: Address Ground Contact and Drainage (Fall)
The single biggest accelerator of wood fence rot is ground contact and standing water. Your yearly fall check, before winter rain settles in:
Trim grass and weeds away from your fence base. Vegetation traps moisture against the wood, and damp wood rots faster than dry wood. Six inches of clear space between the grass line and your fence base is plenty.
Clear leaves, mulch, or soil that has piled against your fence. Mulch holds moisture longer than soil, and mulch piled against the fence base creates a permanent damp zone where rot starts. Pull your mulch back at least six inches.
Check that your posts are not sitting in water during heavy rain. If a post on your fence is in a low spot, water pools around its base after every rain, accelerating rot. Regrade the area or add drainage if a post regularly sits in water.
For your posts showing rot at ground level, plan a repair before the next wet season. A rotted post will not survive another winter, and replacing it before it leans is far cheaper than replacing the post and the panels it pulled down.
If your home sits in Sandhills sandy soil, drainage is usually adequate; standing water at the post is unusual. If your home sits near Hope Mills Lake or other waterfront properties, drainage is more variable, and yearly inspection matters more.
Time investment: 1 to 2 hours. Cost: free, except for any repair that follows.
When Maintenance Is Not Enough
Three signs that your yearly tasks will not save the fence:
Multiple posts leaning more than 5 degrees from vertical. Post foundations are failing — the concrete footings have settled, the soil has shifted, or the post wood has rotted at the base. Yearly maintenance does not fix structural foundation issues.
Soft, spongy wood at ground level on more than 25 percent of posts. Rot has won. The fence is past saving with surface treatments. Replacing posts at scale approaches the cost of full replacement.
Rails sagging mid-span on multiple sections. Structural failure of the rails themselves means the fence is no longer pulling its weight. Patching individual sections is doable; patching across the whole fence is not.
When these conditions are present, replacement is the right call. A fence that needs yearly major repairs is more expensive than a new fence over a 5-year window for your budget. The yearly tasks in this article extend a sound fence’s life. They cannot resurrect your fence if it has already failed.
Frequently Asked Questions
Every 2 to 3 years for pressure-treated pine, every 3 to 4 years for cedar in NC humidity. Drier climates can stretch the intervals. Humid climates may need annual touch-ups on weathered sections, with full reapplication on the schedule above.
Yes, at the right setting. Use 1,200 to 1,500 PSI with a wide-fan tip and hold the tip 12 inches from the surface. Higher PSI or a closer distance gouges the wood and removes the protective outer fiber. Move steadily; do not linger in one spot.
Oil-based semi-transparent stains penetrate deepest and hold up best in NC humidity. The specific brand matters less than the type. Oil-based outperforms water-based on humid-climate wood fences. Avoid solid-color stains for a first reapply unless the wood is already too weathered for a semi-transparent finish to look right.
Usually not. Pressure washing is enough to prepare the surface. Sanding is necessary only on heavily weathered fences where the surface has gone gray and rough beyond what pressure washing can remove. For most maintenance reapplies, the wash and a few days of dry time is enough preparation.
The screwdriver test. Press a screwdriver or stiff awl into the post at ground level (the rot zone). If the tip pushes in more than a quarter-inch with light pressure, the post is rotted enough that replacement is the right call. Multiple soft posts mean the fence is past maintenance and replacement is approaching.
Maintenance wins until the fence reaches roughly 75% of its expected lifespan, despite multiple structural issues. A 12-year-old pine fence with two leaning posts and one rotted rail can be saved with $200 to $500 in repairs. The same fence at year 18 with five leaning posts and rails sagging across multiple sections is past saving — replacement at $4,000 to $7,000 makes more sense than chasing repairs that will not last.
A wood fence is a mid-life investment, not a forever feature. Yearly maintenance pushes the replacement decision back by a decade in good cases, by 5 years in average cases, and by less in cases where the fence was undersized or poorly installed in the first place. The five tasks above are the ones that actually move the needle. Skip them, and your fence ages on the manufacturer’s accelerated schedule. Follow them, and you push your replacement cost out into the next decade.
